TREES - page one
How I go about painting trees and forests on Backcloths; Flats and Wings.
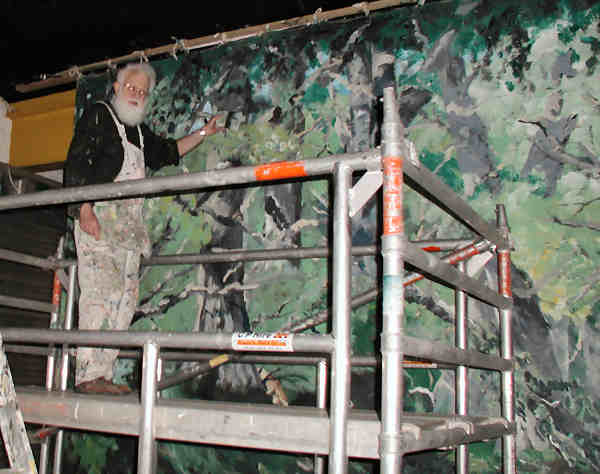
I often get asked how I go about painting a forest backcloth or wings.
So the last forest I painted, as I worked I kept a clip board beside me and jotted down notes.
Here are those notes.
But not really in any order.
Hope you find these thoughts useful.
Brian.
These pages last updated .... January 29, 2011 3:18 PM |
TYPE Is it a happy forest? A miserable forest? A spooky forest? A magical forest? A stand of sparse trees? A dense forest?
COUNTRY LOCATION Where are we? - England? Arabia? China? Shetland Isles? No forget that last bit - tallest tree there is a cabbage apparently.
IMPORTANT SCRIPT ELEMENTS Are there some items which the script calls for to be included? A path? a bridge? fence? foliage arch?
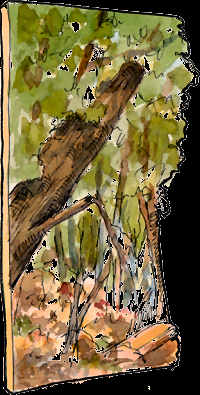
THE ORIGINAL SKETCH
Trees are not haphazard plants which you can spray about any old fashion. I sketch an original drawing to scale. I use a scale of 1 cm to the foot, and decide where I want the main trunks, branches, paths etc. I concentrate on these main elements leaving smaller branches to be put in when actually painting. Once myself and the Producer are happy with the layout of the cloth or flats I can then transfer.
WHAT'S AT THE BASE?
Remember trees have roots which splay as they enter the ground. Trees don't emerge from the ground like straight tubes. And different trees have different root geometry. And there is different flora around the base of different trunk species- toadstools; grass, bluebells, and snowdrops.
IVY is also useful to show the type of forest were trying to depict. Ivy also hints at the shape of the tree/branch. The shadows ivy makes on the trunk also helps this illusion. Shadow shows the type and texture of the surface on which it is it is falling.
ANGLES Include some angled shapes such as leaning trunks and/or rotting fallen logs, as these angles give life to what could be a sterile scene.
 |
And talking of angles. Remember we don't have to see the roots of every tree depicted. Sometimes it is nice to hint that there is more off stage, so have the trunk 'arriving' at an angle. |
LOCATION
What is around our trees? Stones in the ground; moss; fence posts?
Fence posts in perspective are great for inferring depth. Try to have the foreground fence post life-sized which helps the actors and scenery blend together.
PERSPECTIVE
- Overlapping of trees and foliage help to give depth to a scene.
- Larger trees in the foreground, smaller versions in the background.
- If there's a chance, why not have a wall or some ruins running into the distance? But don't make it too stark. Cover with ivy or moss, Bank soil up against it; have a small tree growing out of it and certainly (if it's in a forest) have trees in front of it.
- If your wall is painted on the wing flats carry your wall onto the other wings..
- Even with something as nebulous as a woods, the rules of perspective still apply and I always establish an horizon/eyeline which the geometry of the trees adhere to.
- It's useful to hint at distance by including some boulders. Big ones in the foreground getting smaller as they recede into the distance. (Different sized boulders are particular effective on wings.)
- Painting a forest cloth? Don't seal the back of the stage with a solid wall of trees. Give the eye and 'escape route' - path; patch of sky; steps etc.
- Find some way to show scale.
TRANSFERRING Once planned. I then transfer and enlarge the drawing onto the cloth or flat using the usual squaring technique.
CLICK TO SEE TRANSFERRING
Don't forget to close separate windows when finished with.